Working with Google Cloud can be confusing for beginners and sometimes all you need is to manipulate a Google Sheet. I have a couple of use cases for downloading a sheet and uploading a sheet. I haven’t quite figured out the upload part yet, but I have got downloading to work. I’ve decided to write a guide for that to hopefully help others out.
Step 1: Where to run the script
The first thing to figure out is where and how to run this script. I needed to run the script on a cron and have the downloaded CSV available via SFTP so I chose to set up a new Digital Ocean droplet. You could just as easily set this up as a Cloudflare Worker, or an AWS Lambda function if you didn’t need to access the file via SFTP.
Step 2: What language to use
This is really down to personal preference. Google has a variety of client libraries available to use such as Node.js, PHP, and Python. For this project, I decided to go with Python. It’s not a language I code in very often but it’s easy to use and has minimal setup on a blank Ubuntu install on my Digital Ocean droplet.
Step 3: Create a Google Cloud project
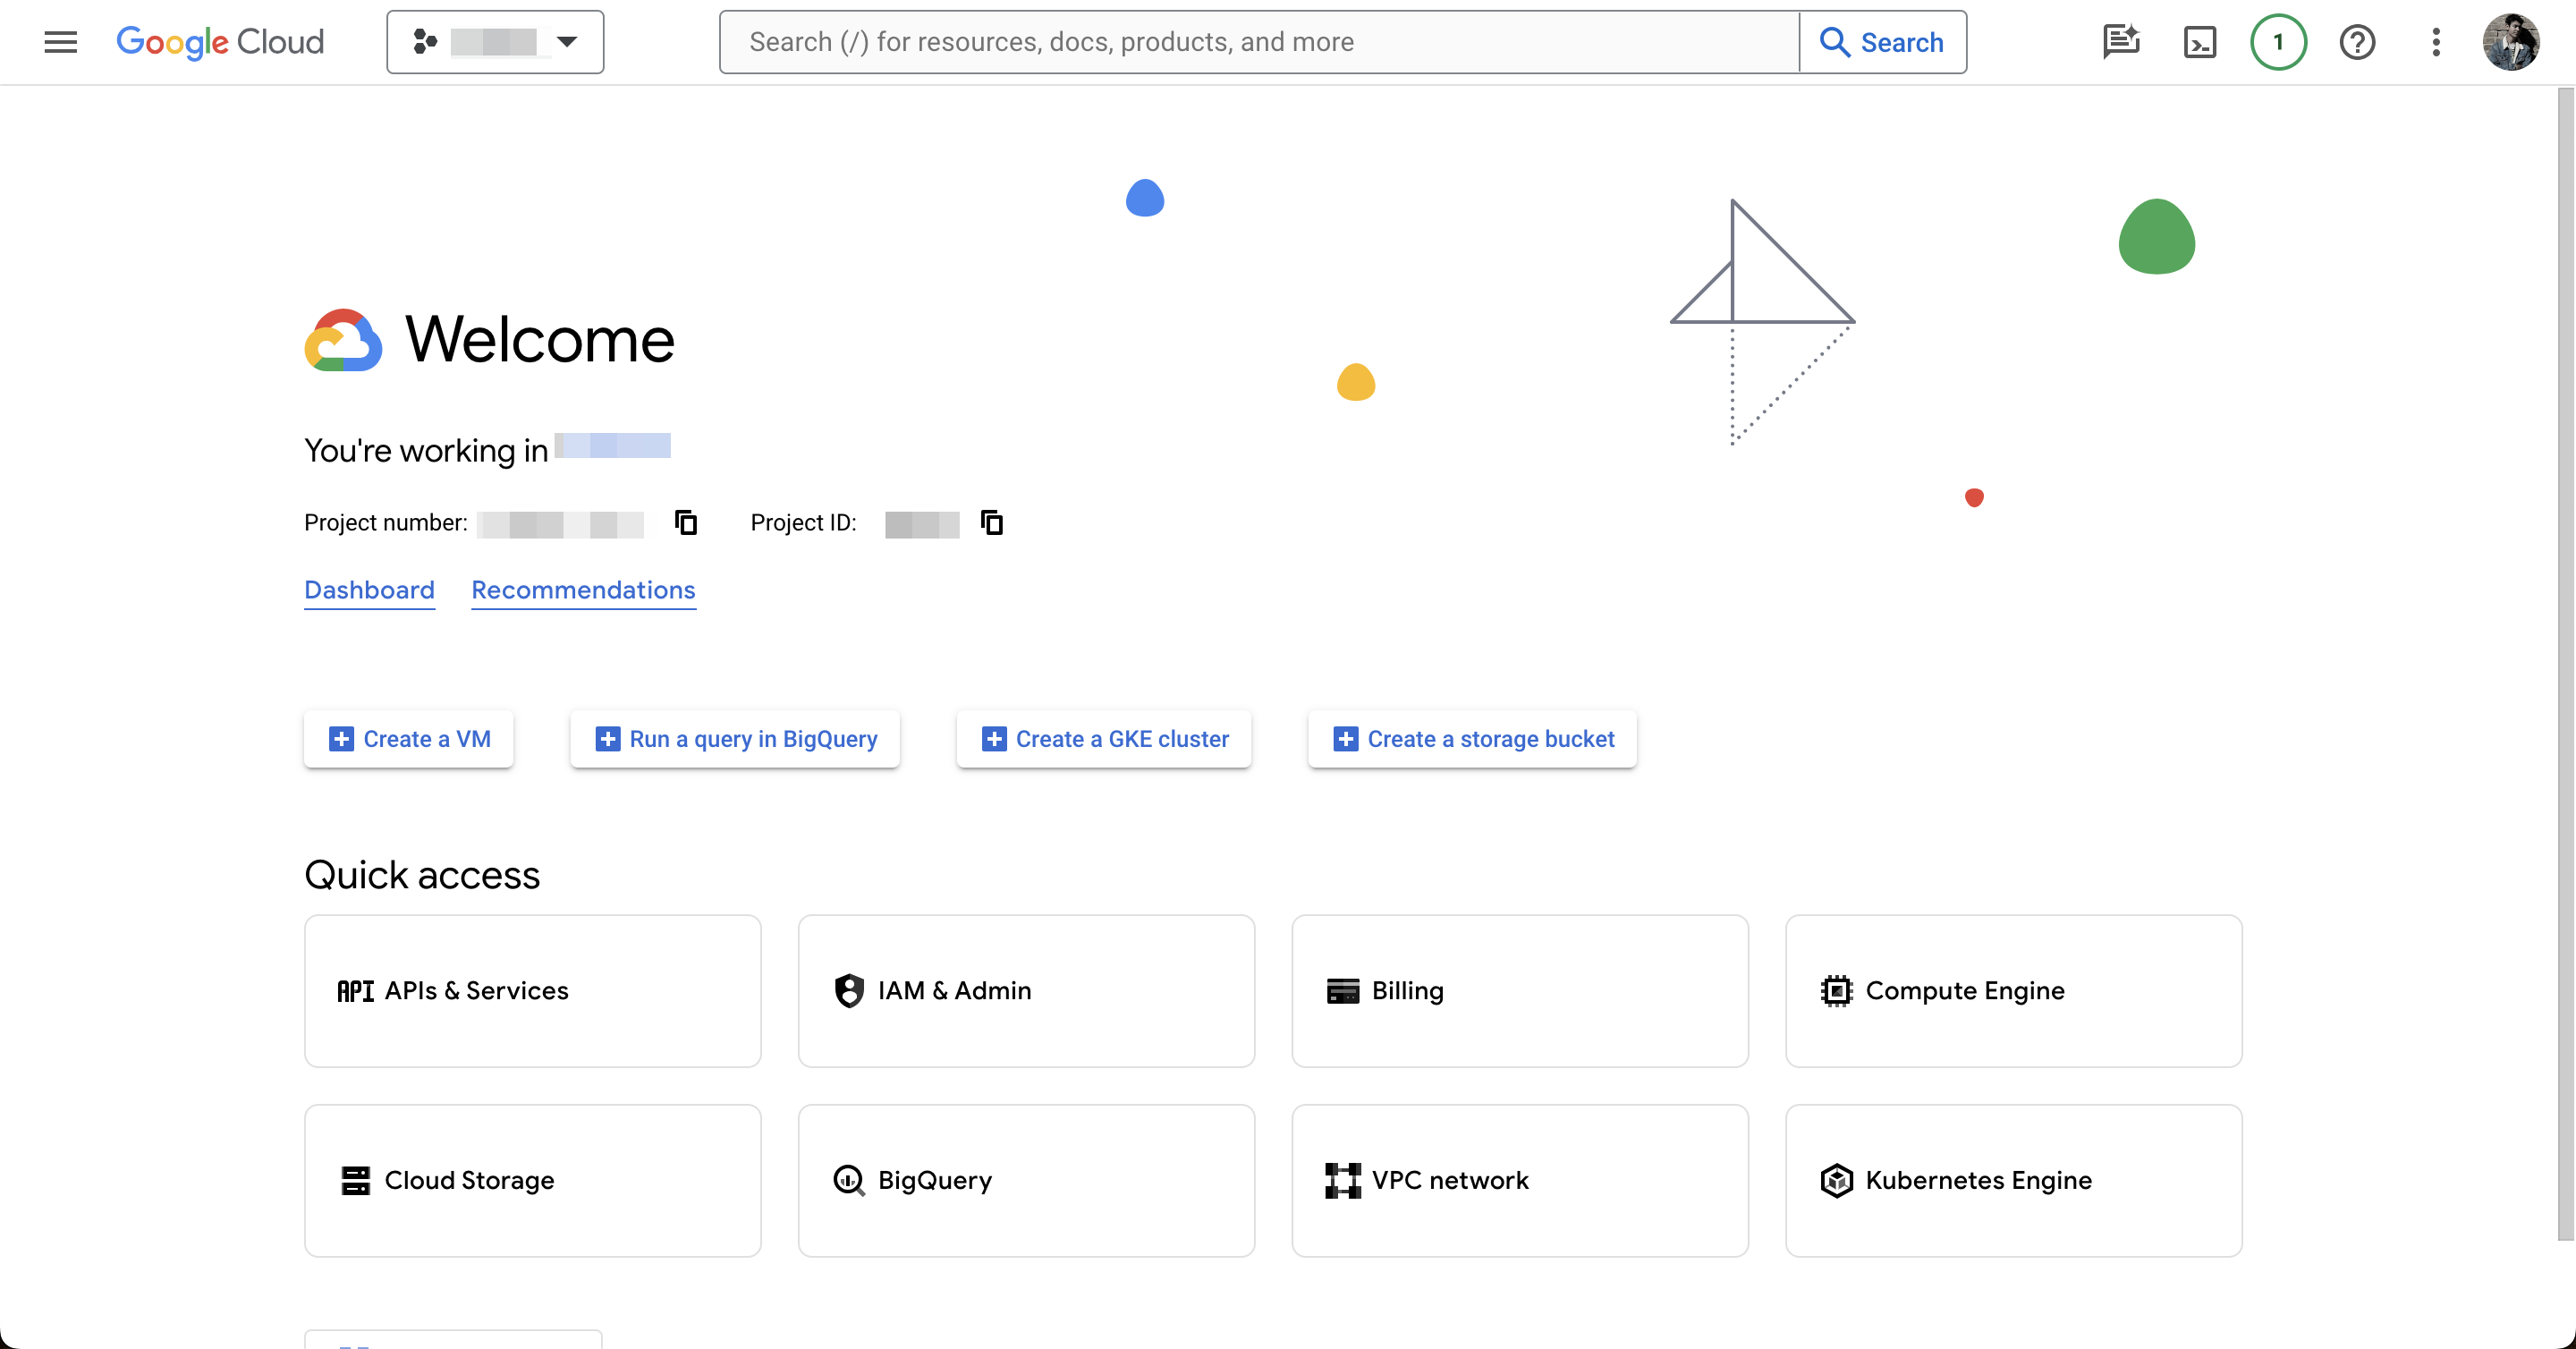
To enable us to work with the Google Sheets API we need a Google Cloud project. To create one go to Google Cloud Console, create a new project or select an existing one. Next, we need to enable the relevant API. Click “APIs & Services”.
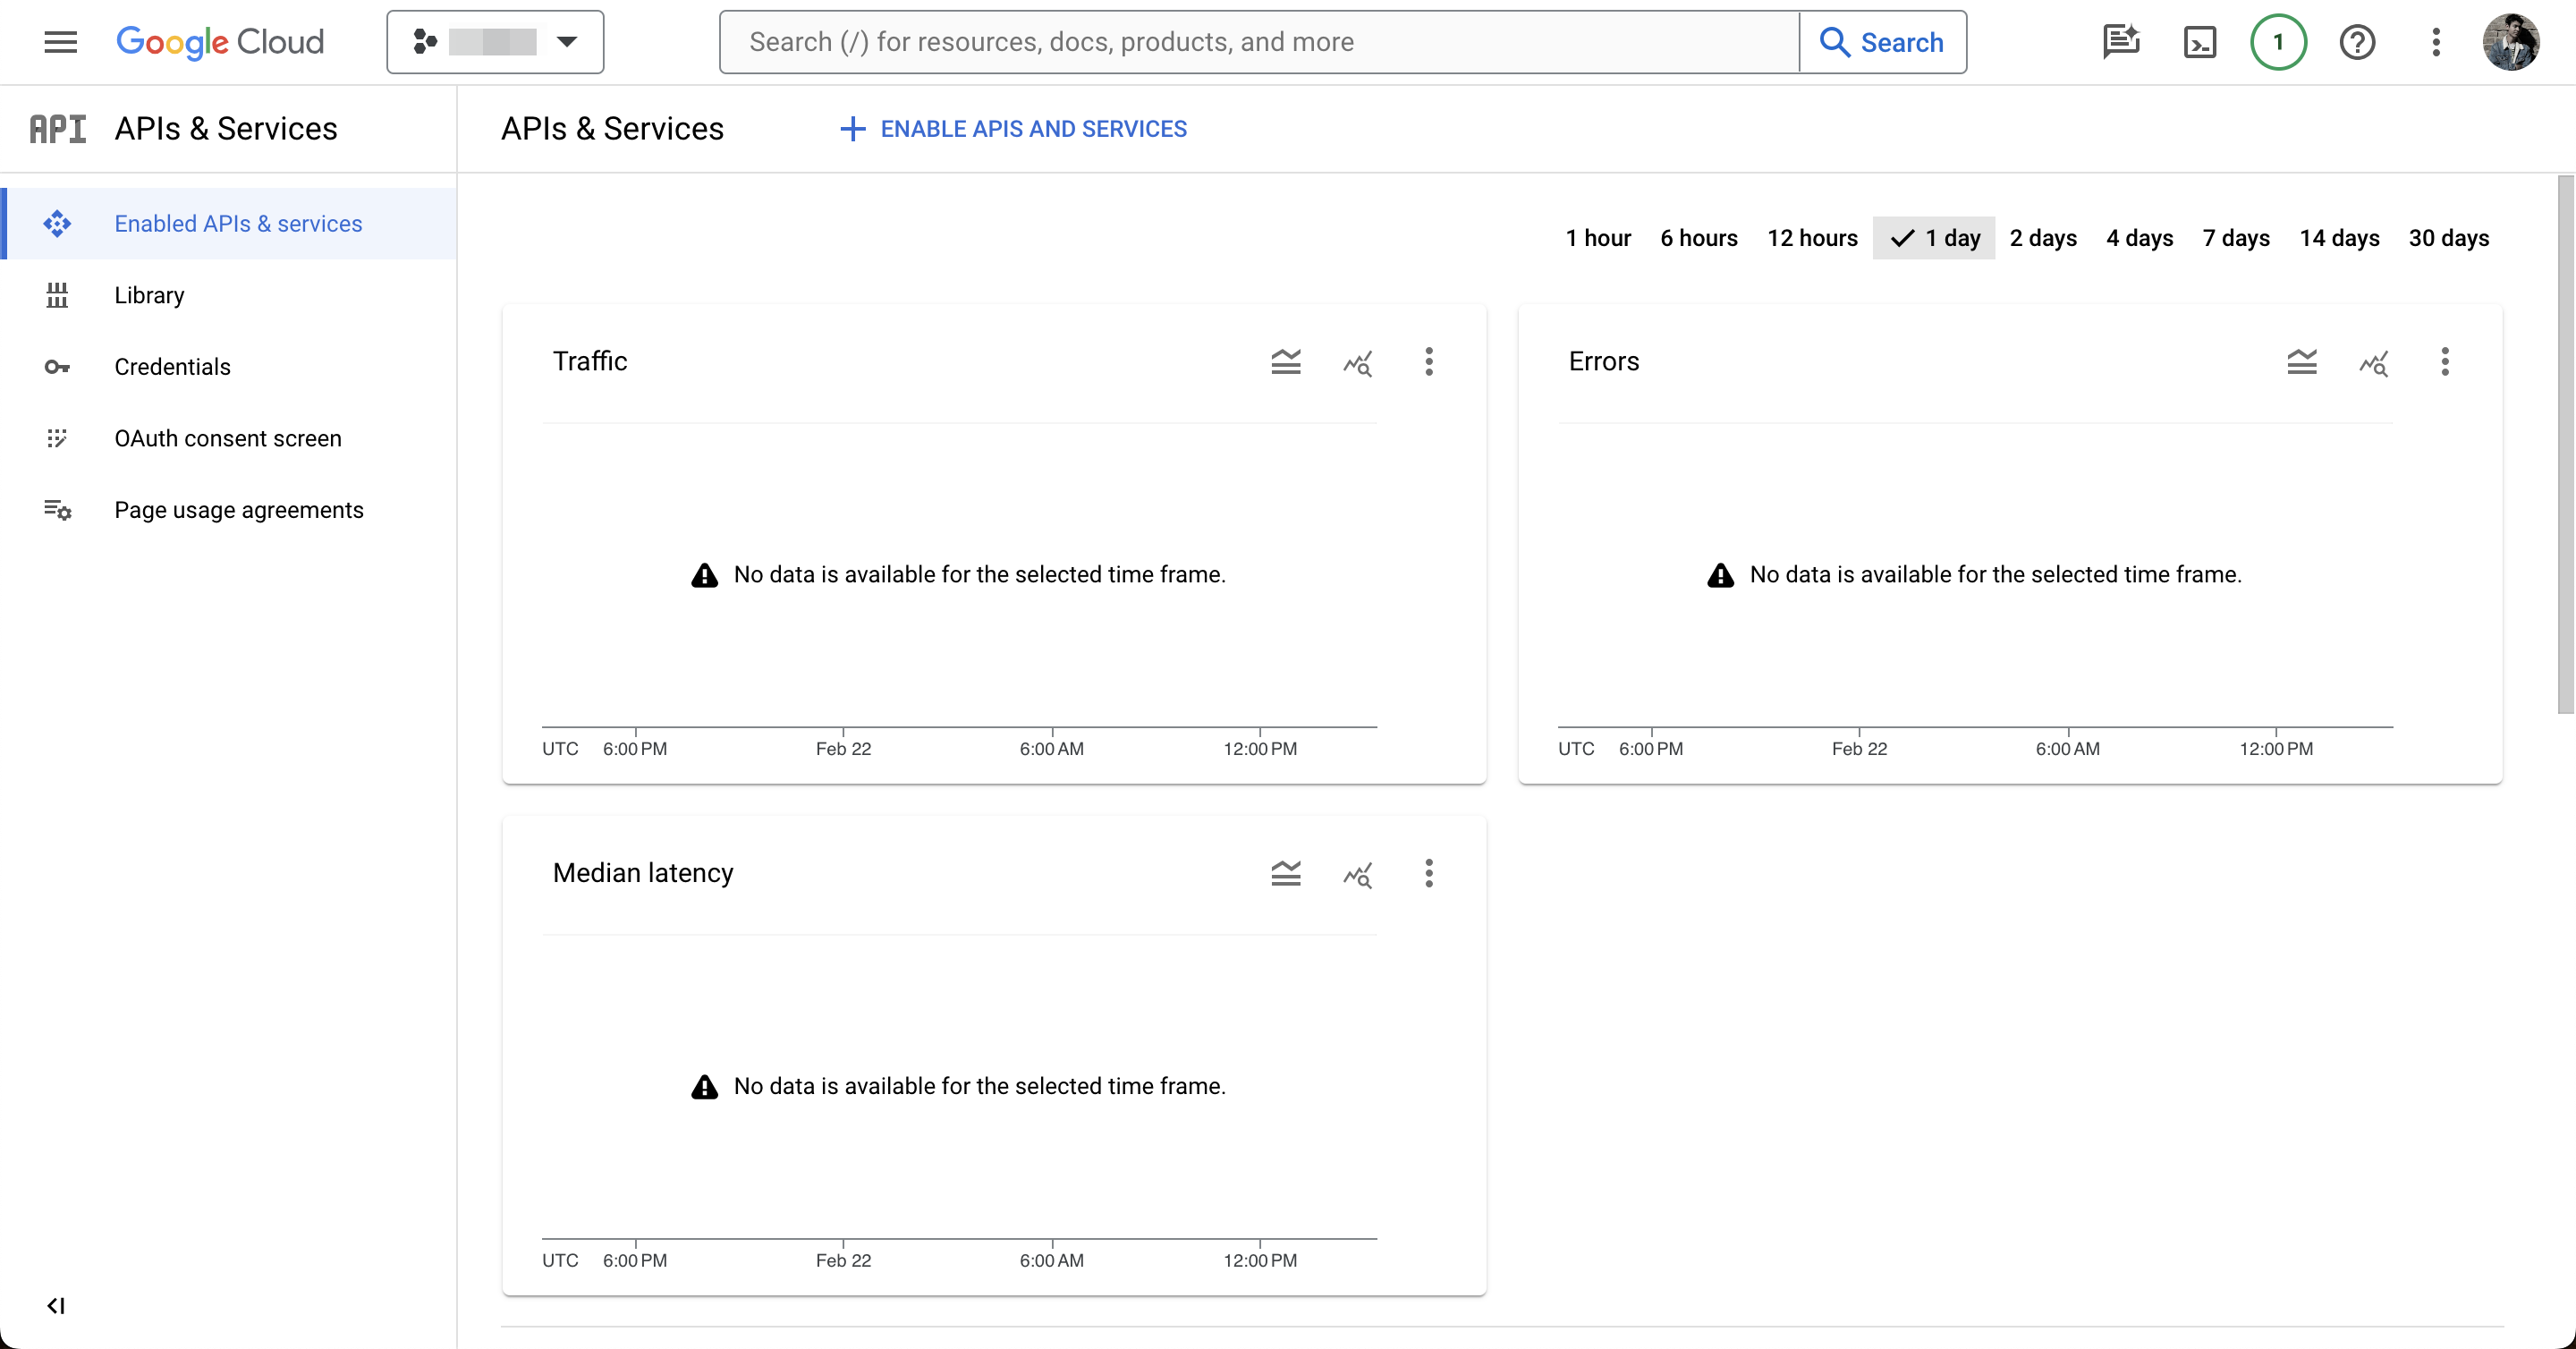
Then click the Enable APIs & Services button.
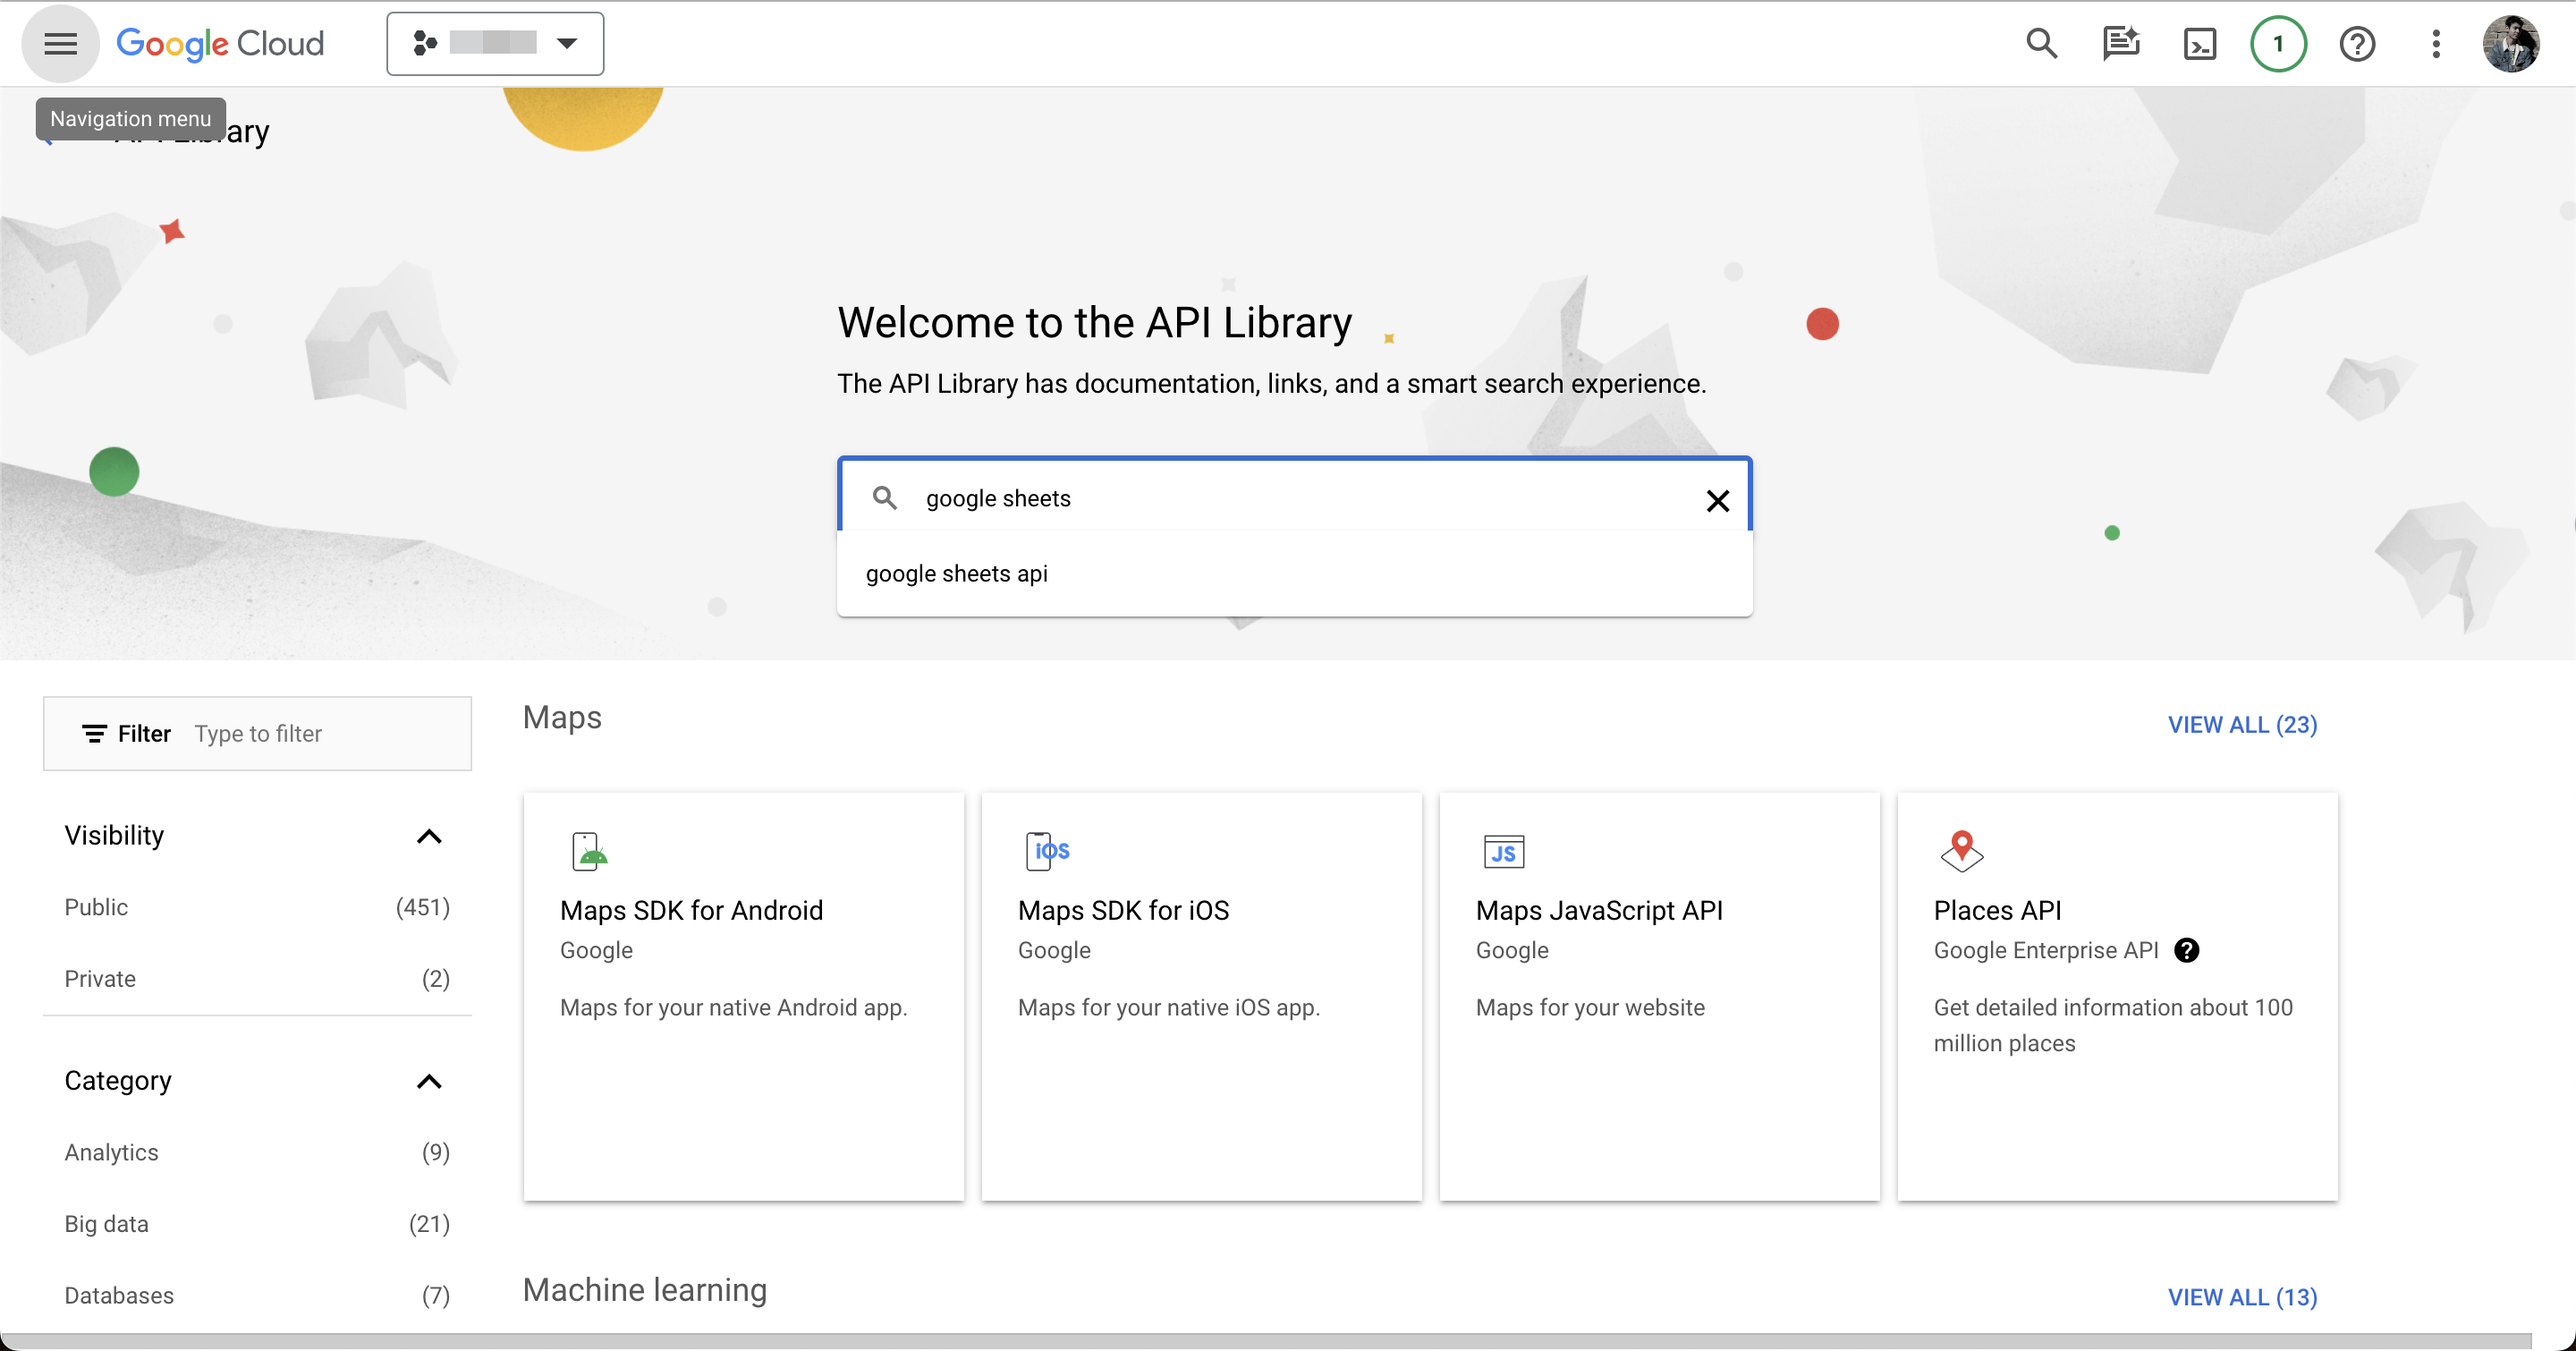
Then search for “Google Sheets API”.
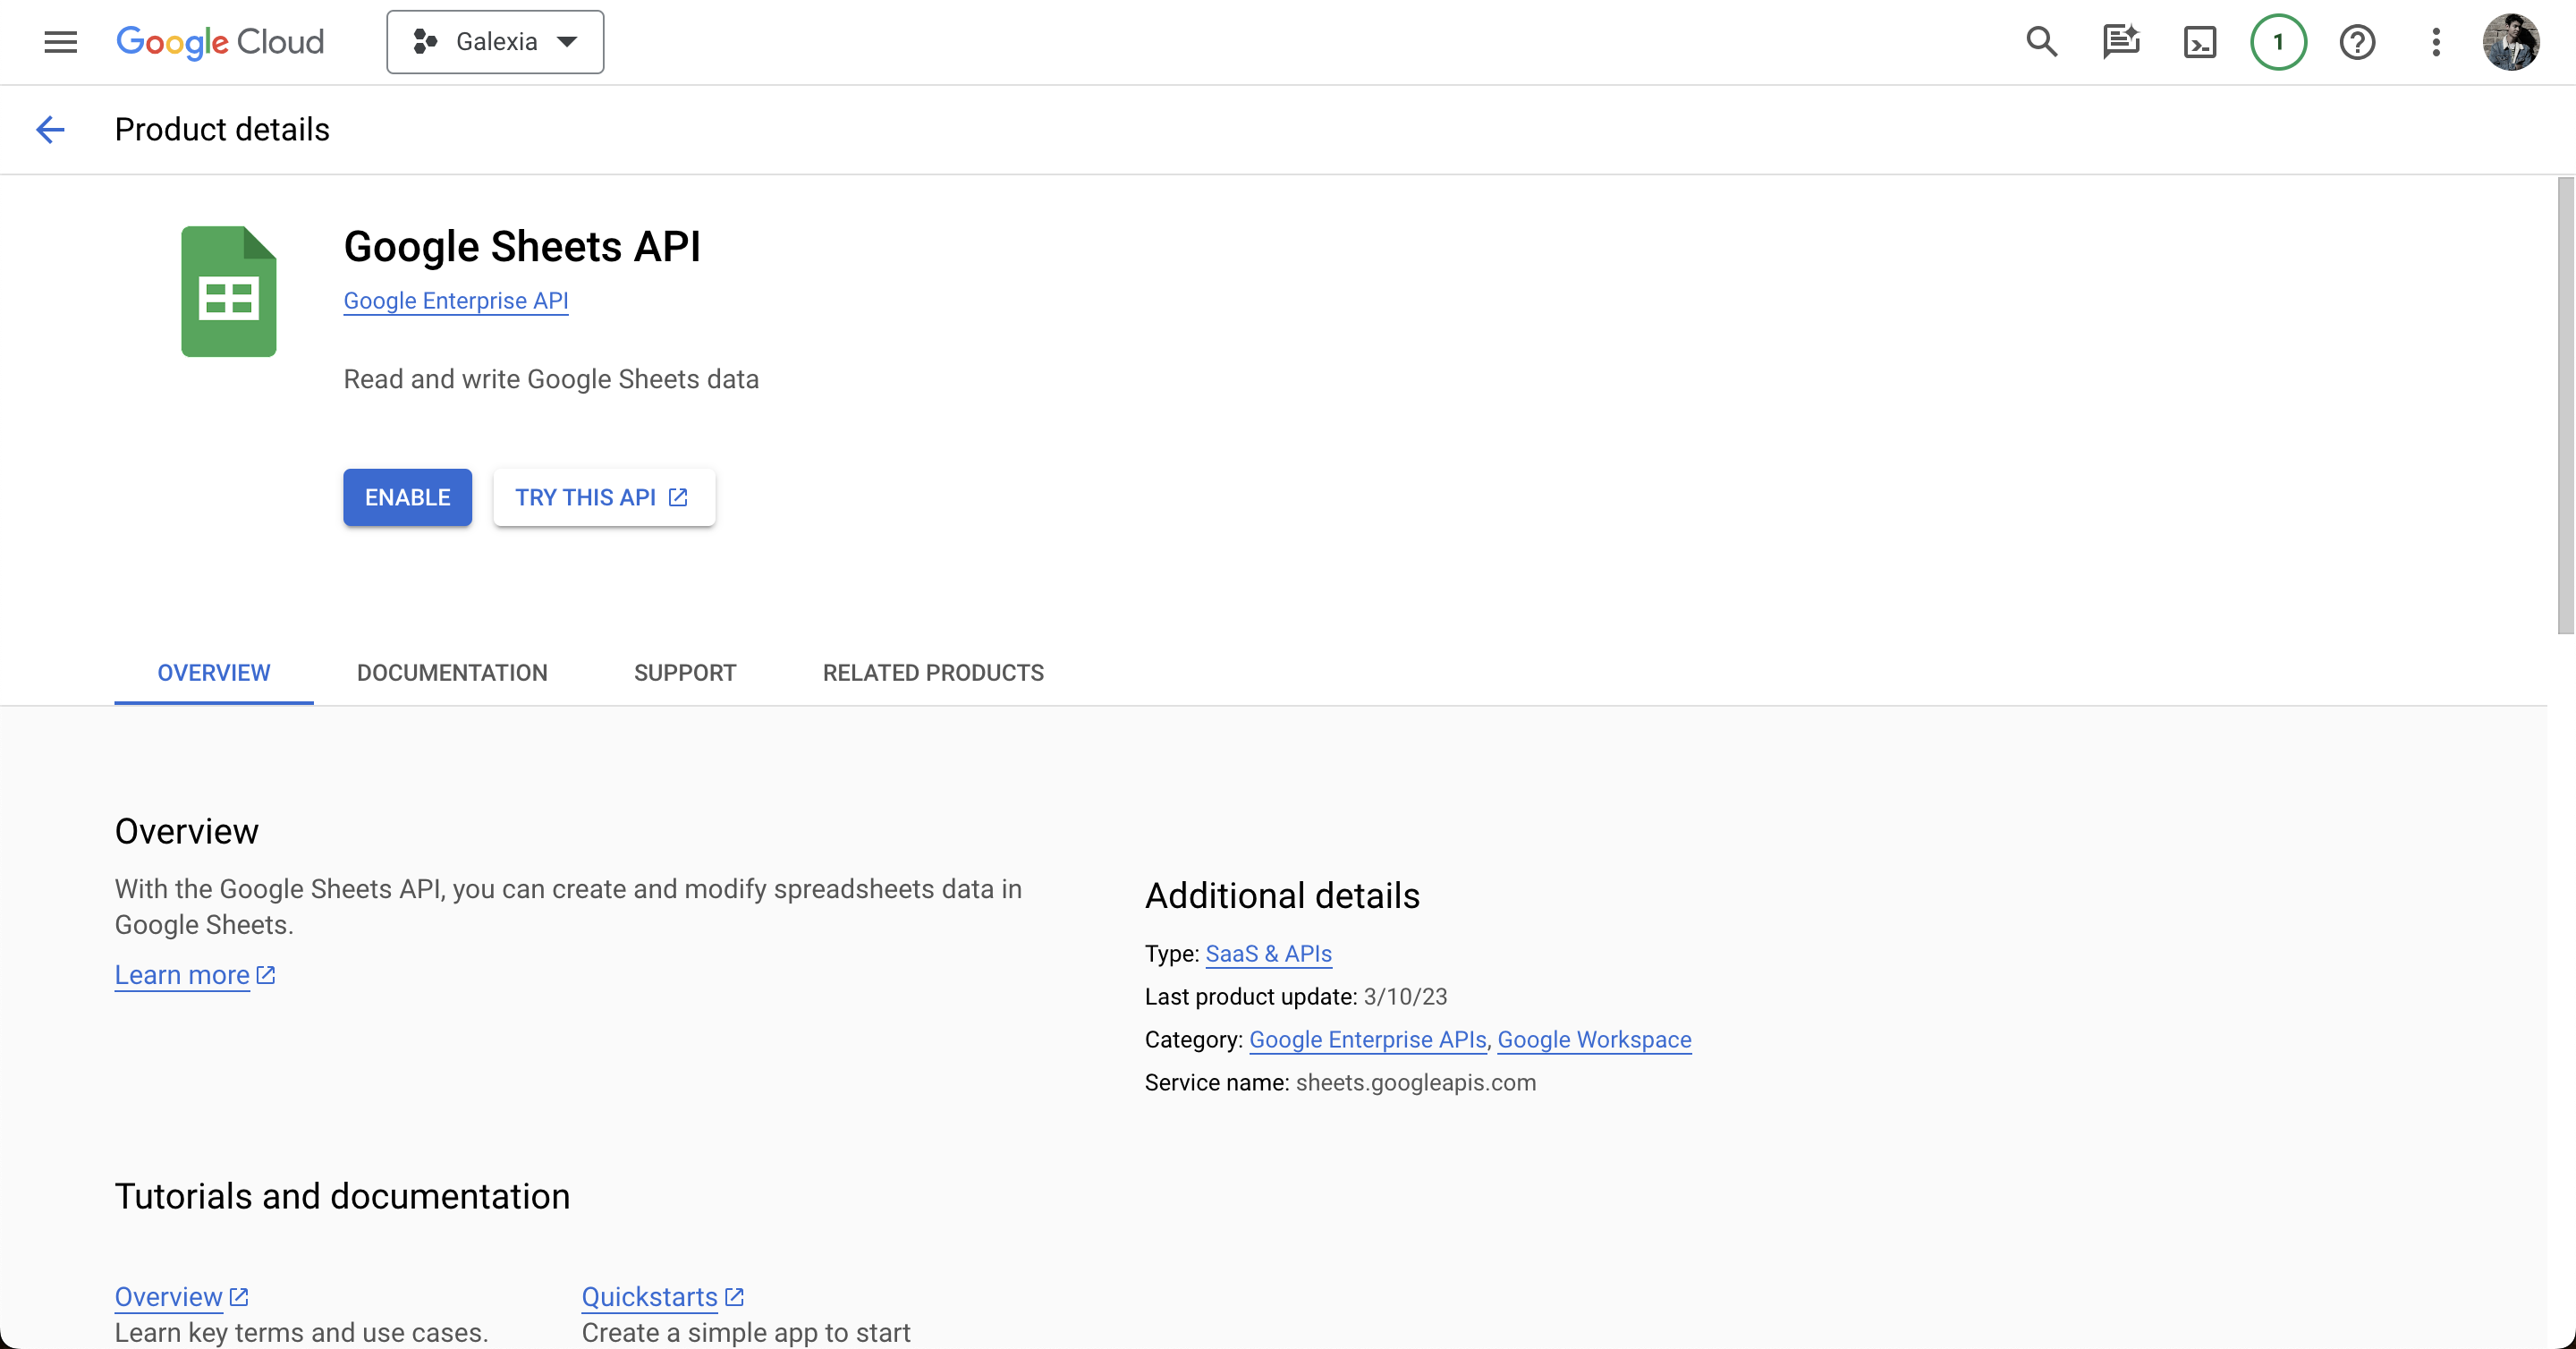
Now enable it for your project.
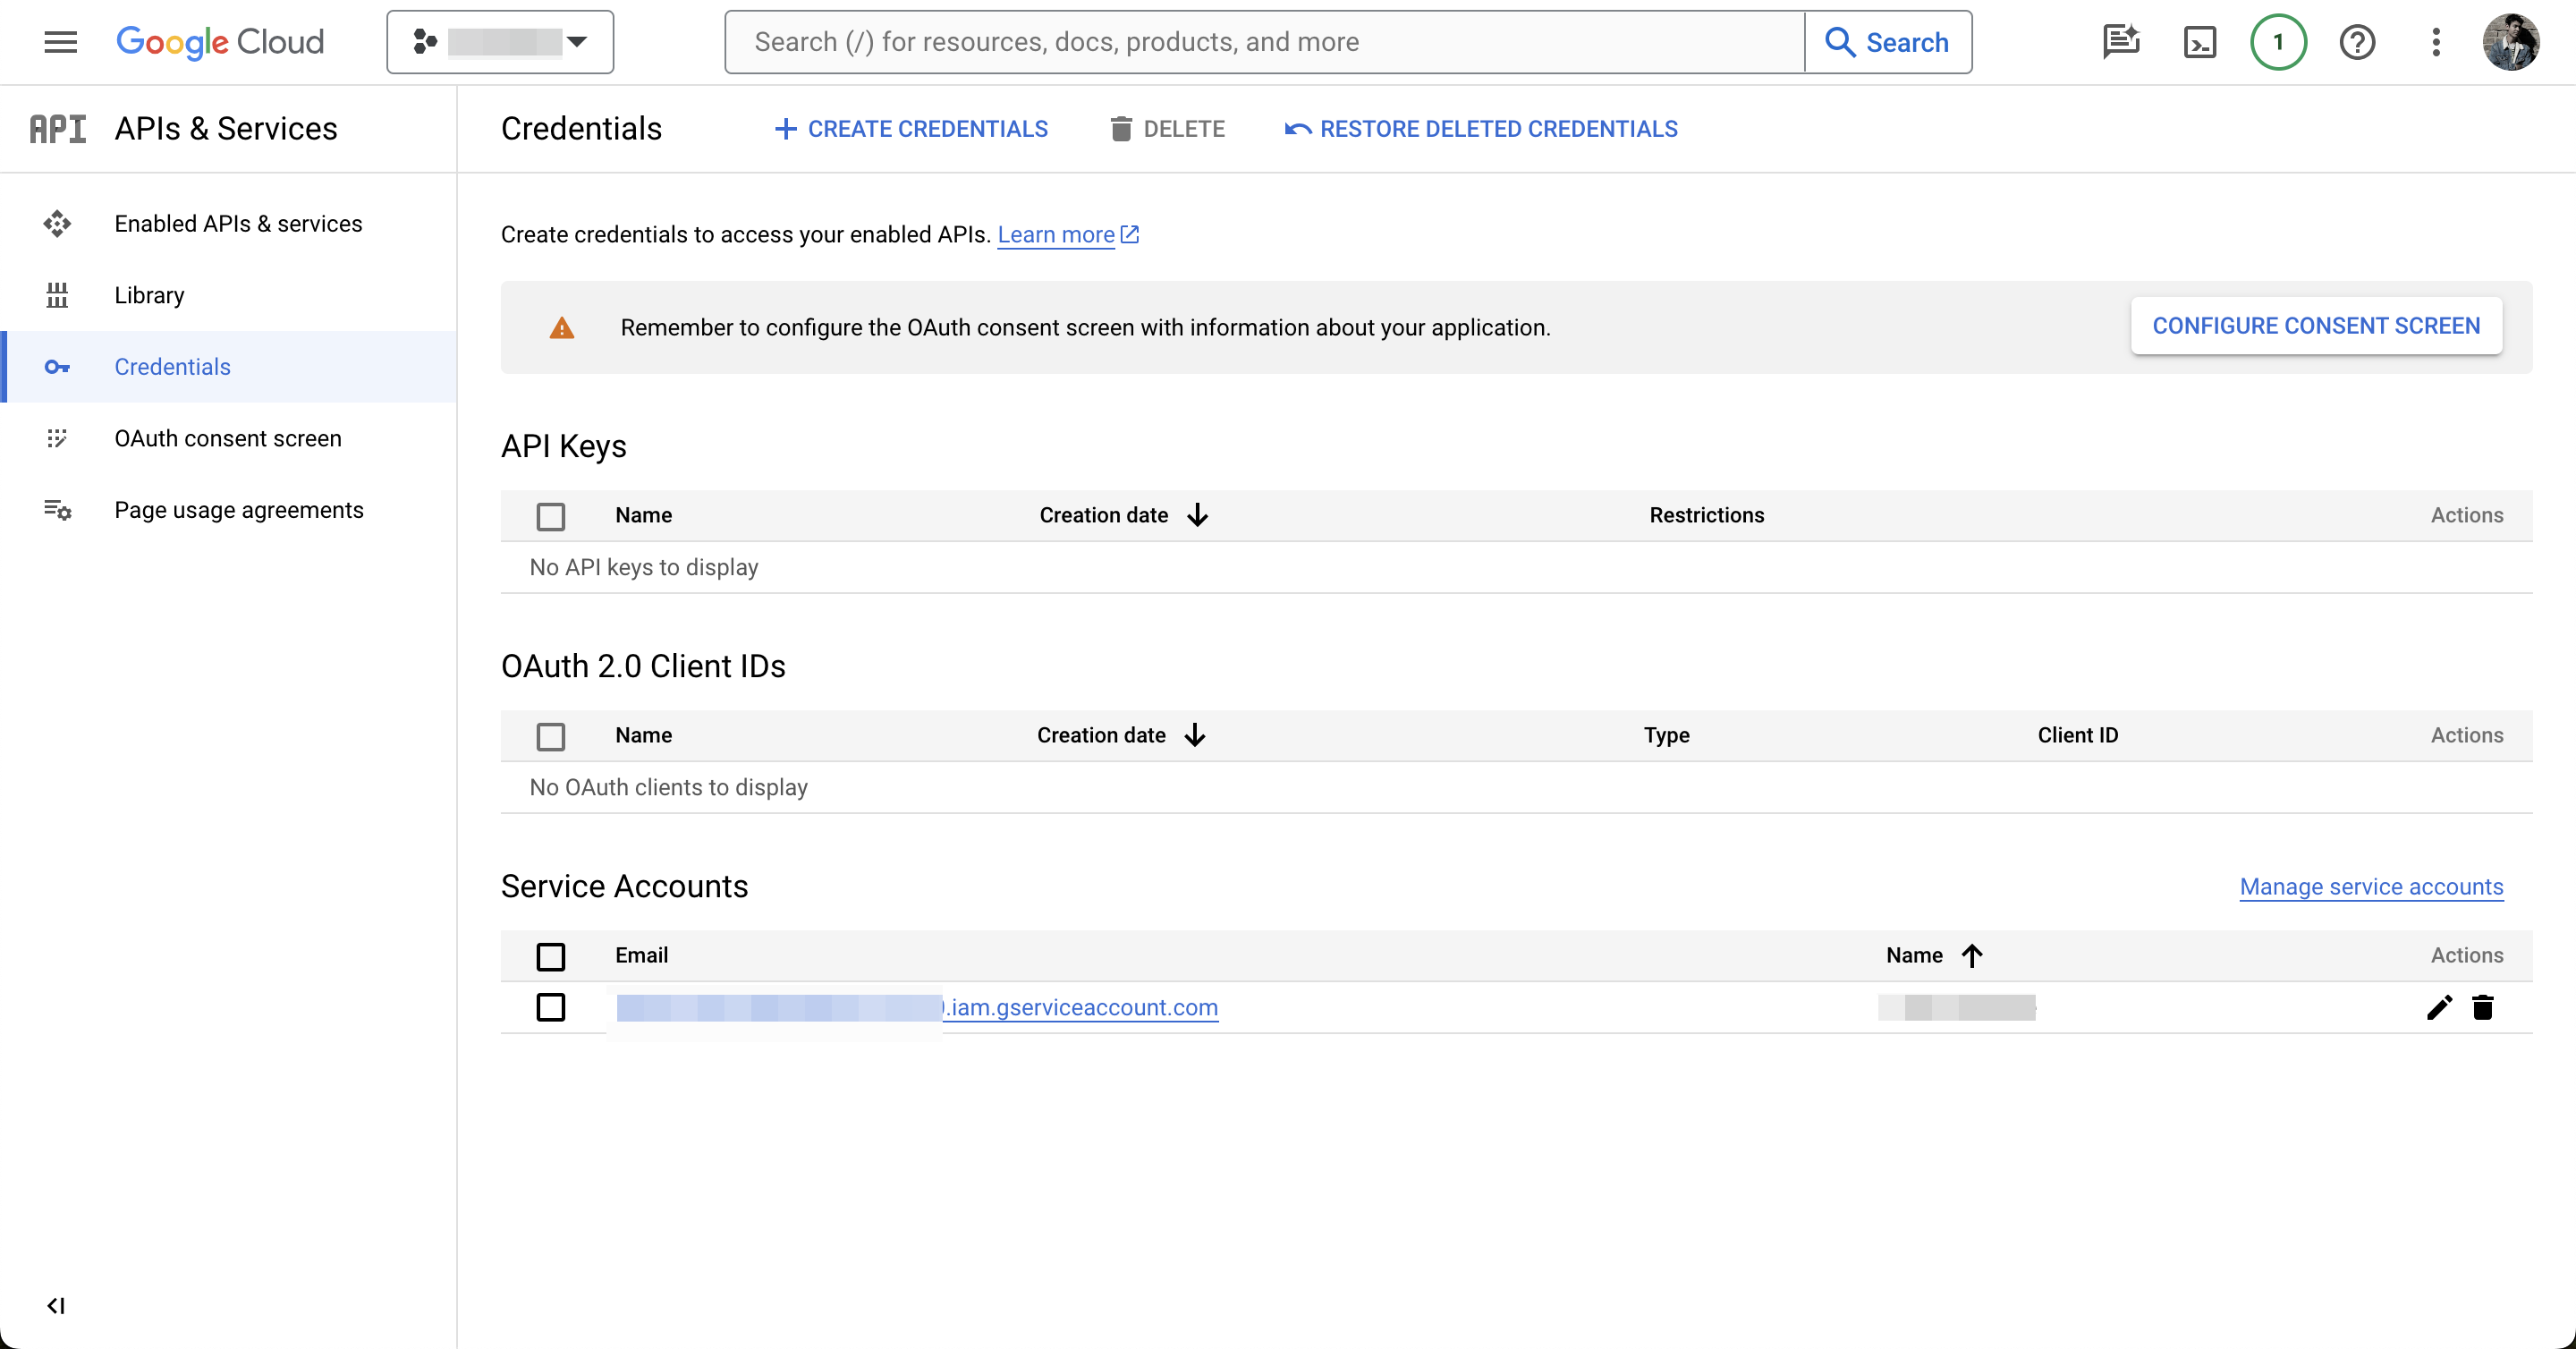
In order to interact with the API, we need a service account. Head back to the APIs & Services page, then click on Credentials in the left-hand sidebar. Click “+ CREATE CREDENTIALS” and select “Service account”.
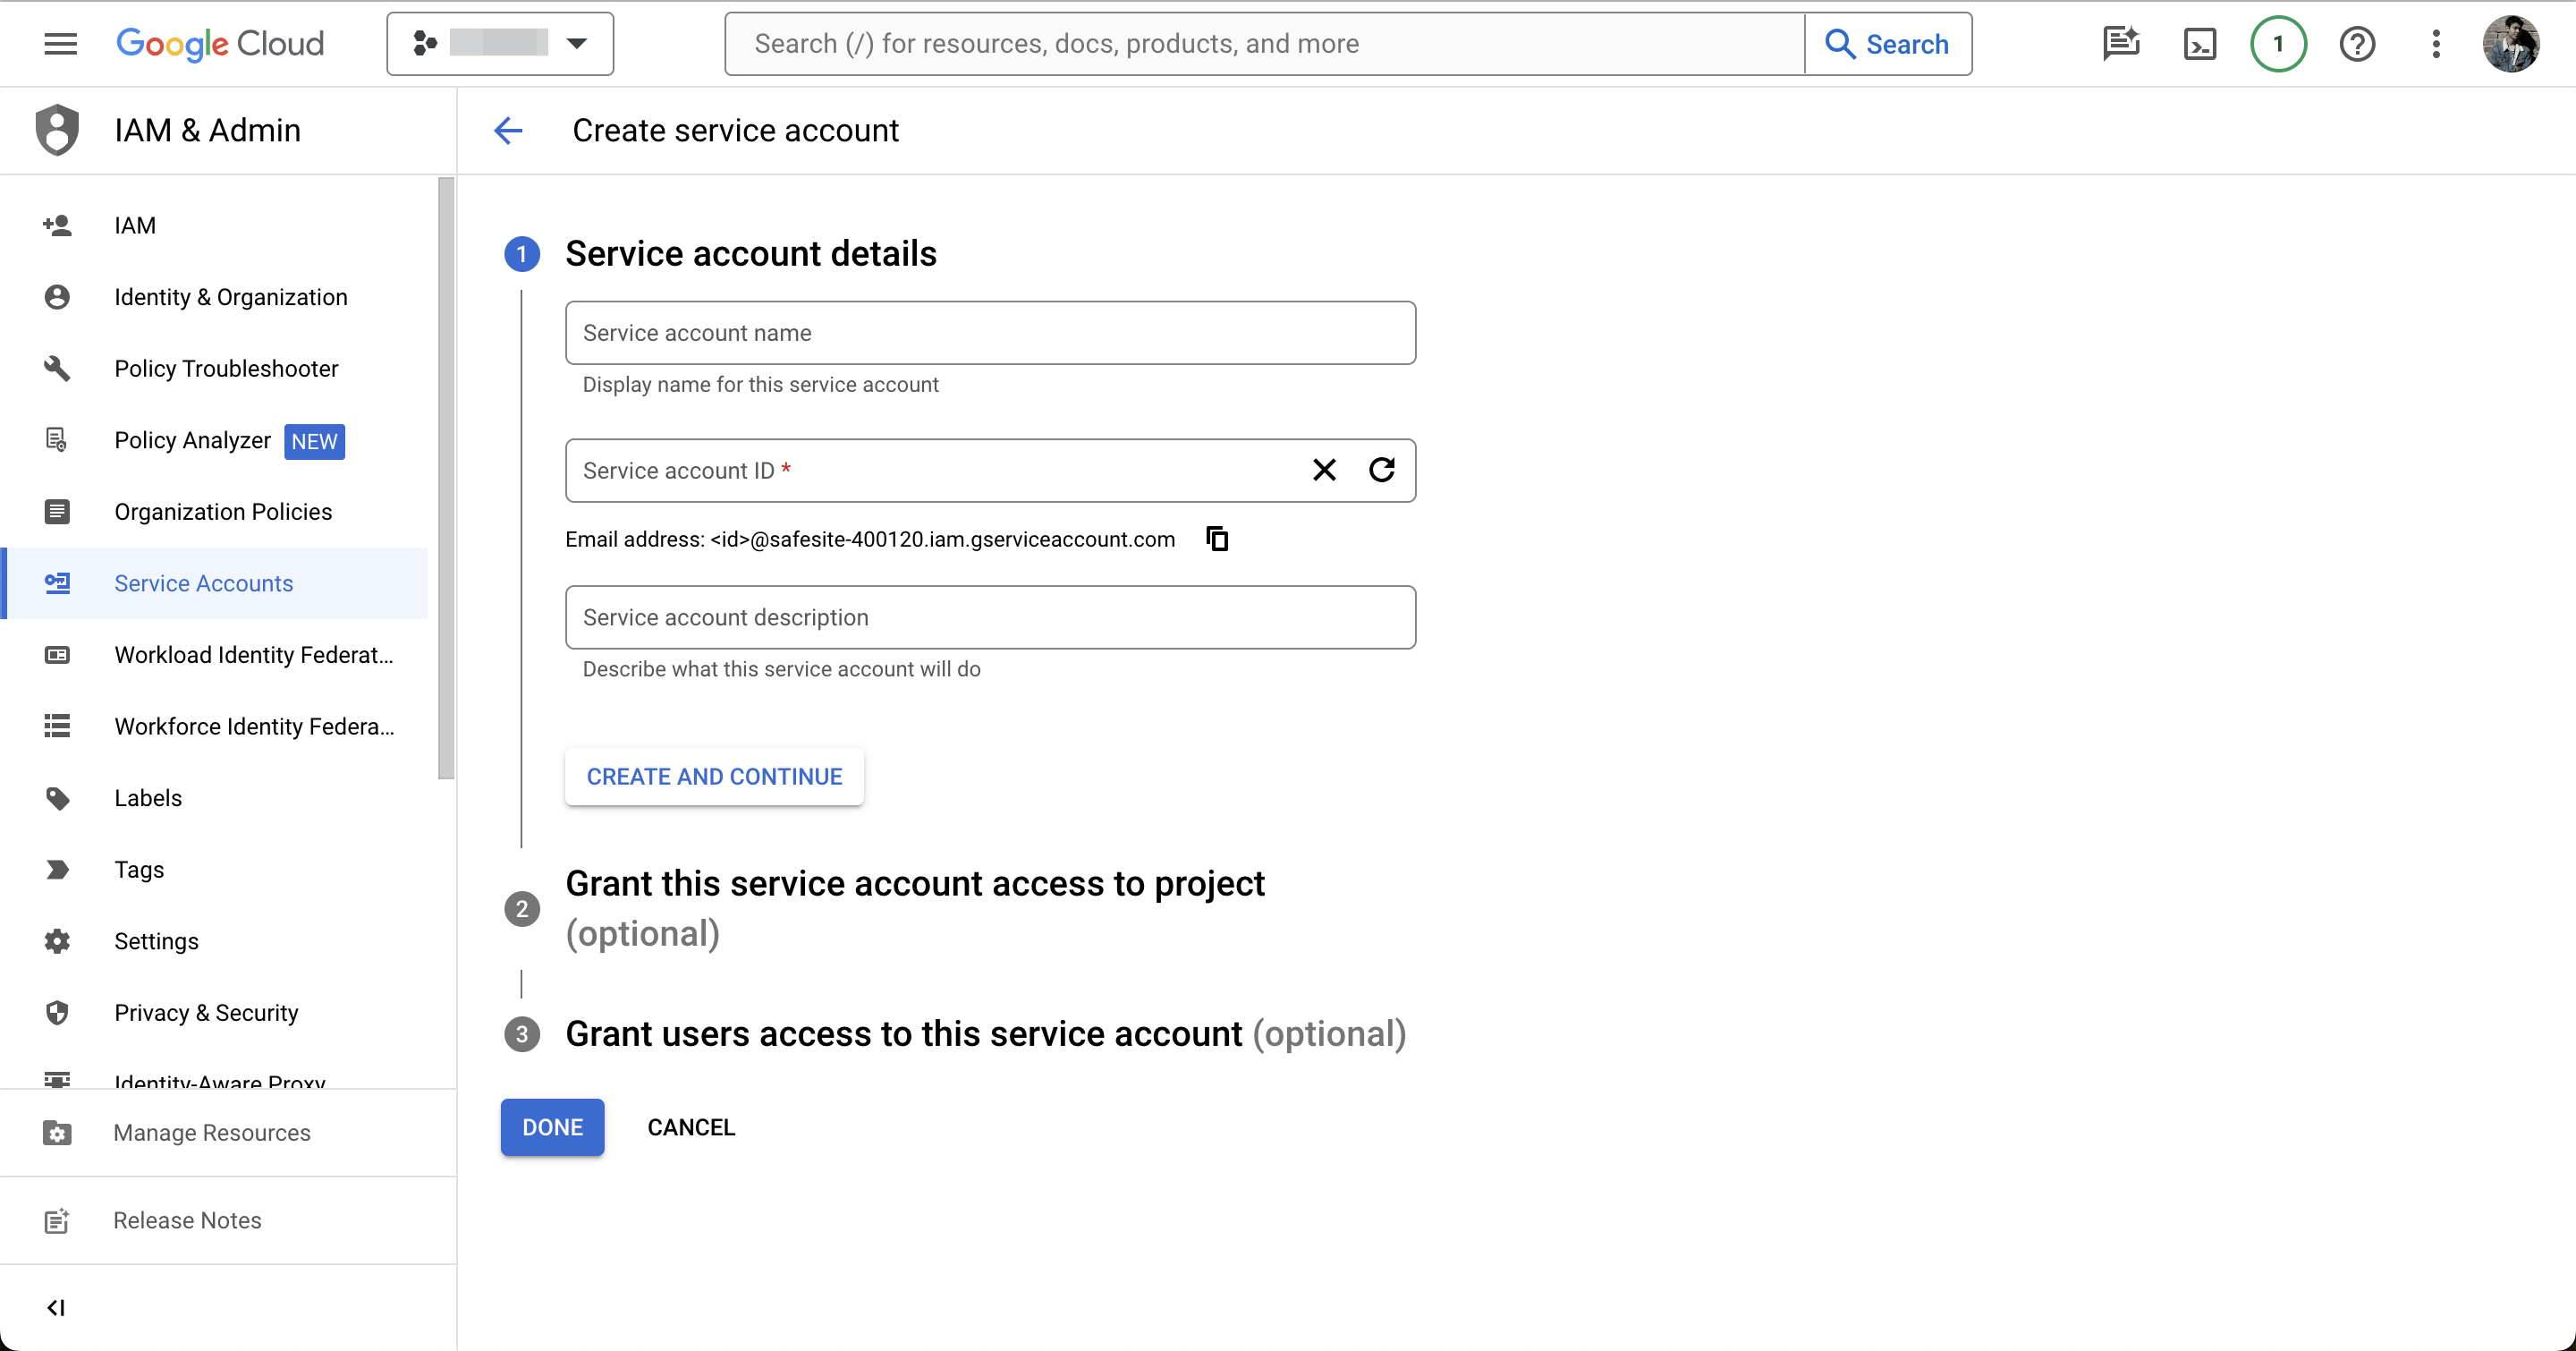
Fill in the service account details and grant it any role that has permission to access Google Sheets.
After creating the service account, click on it and go to the “Keys” tab. Click “Add Key” and choose “JSON”. A JSON key file will be downloaded. This file contains the credentials your script will use to authenticate. Upload this file to your server and make a note of the path. You’ll need this for later. Make sure to keep this key safe as it grants access to your Google Sheet.
Open your Google Sheet and share it with the email address of the service account you just created, giving it at least “Viewer” permissions.
Step 4: Write some code
We first need to install the necessary packages. Depending on which language you chose, this process will be slightly different. As I chose Python, I’m going to use Pip to install my packages. To install Python 3 and pip on Ubuntu, run the following command:
Here’s my Python file for downloading the sheet. Make sure to replace:
'path/to/your/service-account-file.json' with the path of your uploaded service account key file.
'your_google_sheet_id_here' with the actual ID of your Google Sheet (found in the sheet’s URL).
'Sheet1' with the name of the sheet (or specific range) you want to download.
'/path/to/your/folder/sheet.csv' with the path where you want the CSV file to be saved.
from googleapiclient.discovery import build
from google.oauth2.service_account import Credentials
import requests

# Path to your service account key file
SERVICE_ACCOUNT_FILE = 'path/to/your/service-account-file.json'

# The ID of your Google Sheet and the range you want to download
SHEET_ID = 'your_google_sheet_id_here'
RANGE_NAME = 'Sheet1'  # or whatever your sheet is named

# Authenticate using the service account
credentials = Credentials.from_service_account_file(
        SERVICE_ACCOUNT_FILE, scopes=['https://www.googleapis.com/auth/spreadsheets.readonly'])

service = build('sheets', 'v4', credentials=credentials)

# Make the API call
sheet = service.spreadsheets().values().get(spreadsheetId=SHEET_ID, range=RANGE_NAME).execute()

# Convert to CSV
with open('/path/to/your/folder/sheet.csv', 'w') as f:
    for row in sheet.get('values', []):
        f.write(','.join(row) + '\n')

print('Sheet downloaded as CSV.')
You can test that the script works correctly by running the following snippet and checking that the CSV is created.
python3 /path/to/your/download_sheet.py
Step 5: Schedule the Script Using Cron
Ubuntu includes a cron runner. If you went down the Cloudflare Workers route, you could use a scheduled action. If your function is available via HTTP, there are many free cron runners that can call your endpoint for you.
For Ubuntu, open the crontab file:
crontab -e
Add a line to run your script periodically. For example, to run it daily at 1 AM:
Replace /path/to/your/download_sheet.py with the actual path to your Python script.
Conclusion
This is purposefully a very abstract guide to give you a decent starting point to create your own solution for your own needs. If you have any questions, drop me a message and I’ll be more than happy to help. I’d love to see what you make too, so please send them over to me.
I had a task to add a Google Analytics ID to the user profile in LiveChat. We wanted to be able to match up the person we were chatting to with the analytics data in Google.
This looked really simple according to their docs. You can just use the following function:
What their docs failed to mention, and caused hours of headaches trying to debug a race condition, is that this function needs to be invoked as part of the On Ready callback. If you update the session variables once the chat has started, they won’t get saved. I had further complexity due to LiveChat being loaded by GTM, so I needed to use a MutationObserver to listen to the node being added to the DOM, before initialising the On Ready callback.
Here’s the full code for my solution:
function onReady(data) {
  // Replace this object with an object of variables you need to push into LiveChat
  const customVariables = { googleClientId: 'ID' };
  LiveChatWidget.call("set_session_variables", customVariables);
}

// Select the node that will be observed for mutations
const liveChatMutationObserverTargetNode = document.body;

// Options for the observer (which mutations to observe)
const liveChatMutationObserverConfig = { childList: true, subtree: true };

// Callback function to execute when mutations are observed
const liveChatMutationObserverCallback = function(mutationsList, observer) {
  for (let mutation of mutationsList) {
    if (mutation.type === 'childList') {
      let addedNodes = mutation.addedNodes;
      // Loop through all added nodes
      addedNodes.forEach(function(node) {
        if(node.id === 'chat-widget-container') {
          // Element with ID 'chat-widget-container' has been added
          console.log('Chat widget added to the DOM');

          if (typeof LiveChatWidget !== 'undefined' && typeof LiveChatWidget.on === 'function') {
            LiveChatWidget.on('ready', onReady)
          }

          // Optional: Disconnect the observer after the element is found
          observer.disconnect();
        }
      });
    }
  }
};

// Create an instance of the MutationObserver
const liveChatMutationObserver = new MutationObserver(liveChatMutationObserverCallback);

// Start observing the target node for configured mutations
liveChatMutationObserver.observe(liveChatMutationObserverTargetNode, liveChatMutationObserverConfig);
Hopefully, this code can help others overcome any similar problems and save hours of debugging when working with LiveChat.
Have you ever experienced broken deploys while using Nuxt? It can be frustrating when your build encounters errors, but still proceeds to deploy all the files, resulting in broken pages on your website. Fortunately, I discovered a handy Nuxt trick that prevents such broken deploys and ensures a more reliable deployment process.
In my case, I encountered occasional rate limits while making API calls, which caused some pages to be deployed without any content. However, even with these errors, Nuxt 2 completes the build process with a success code, leading to the deployment of incomplete pages. To overcome this issue, I found a simple solution: adding the --fail-on-error flag to the Nuxt build command.
By incorporating the --fail-on-error flag, Nuxt is instructed to halt the build process immediately upon encountering any errors. This prevents the deployment of incomplete or broken pages, providing a more accurate representation of your website to visitors. Whether you are using Netlify or any other static hosting platform, this trick can be applied to ensure a reliable deployment process.
With this Nuxt trick in place, you can rest assured that your deployments will only go live when everything has been successfully built without errors. No longer will you have to worry about visitors stumbling upon pages with missing content due to API rate limits or other build failures. The --fail-on-error flag acts as a safeguard, ensuring that your website is consistently deployed in a reliable and complete state.
So, if you’ve been facing issues with broken deploys while using Nuxt, give this simple trick a try. Incorporating the --fail-on-error flag into your Nuxt build command will help you avoid incomplete deployments, resulting in a more seamless and error-free website for your users. Remember, a small adjustment like this can go a long way in preventing broken deploys and enhancing the overall user experience.
In today’s fast-paced digital world, attention spans are getting shorter, and users often have limited time to consume content. As a result, providing readers with an estimated reading time can be a valuable feature for any blog or content-based website.
Why having a read time for a blog post is important
Managing User Expectations: By displaying the estimated read time, you set clear expectations for your readers. They can gauge the commitment required to consume your content and make informed decisions based on their available time. This transparency improves user experience and helps build trust with your audience.
Time Management: Modern readers appreciate efficient time management. Providing a read time estimation enables them to plan their reading activities accordingly. They can allocate specific time slots for reading longer articles or save shorter ones for breaks. This feature empowers users to make better use of their limited time and encourages engagement with your content.
Enhancing UX and Engagement: Including a read time encourages readers to start reading an article with confidence, knowing the approximate investment of time required. It helps eliminate the fear of stumbling upon long, time-consuming pieces without prior knowledge. This can result in increased engagement, reduced bounce rates, and higher overall satisfaction with your website.
SEO Benefits: Search engines consider user engagement metrics when ranking websites. If visitors spend more time on your pages and engage with your content, search engines may interpret it as a positive signal, potentially boosting your website’s visibility in search results. Providing a read time can contribute to longer session durations and improved SEO performance.
Import: We need the Cheerio library to parse HTML in Node.js. If you want to use this function in regular old JavaScript, you can adapt it and create an element on the DOM instead. To install Cheerio, you can run the following command npm i cheerio.
Parameters: The getReadingTime function takes two parameters: content: The content of the article or blog post, either in plain text or HTML format. isHtml (optional): A boolean flag indicating whether the content is in HTML format. By default, it is set to false.
HTML Processing: If the isHtml flag is set to true, the function uses the load function from Cheerio to parse the HTML content. It then removes any content inside <pre> tags as this doesn’t really count towards reading the blog. It then converts the HTML to plain text using the stripTags function.
Word Count Calculation: The function uses a regular expression (/\w+/g) to split the processed content into an array of words. The match method is then used to count the number of words.
Read Time Calculation: The average reading speed is assumed to be 200 words per minute (avgWordsPerMin). The function divides the word count by this average and rounds up using Math.ceil to get the estimated read time in minutes.
In conclusion, implementing read-time functionality in your blog or website can significantly enhance user experience, improve engagement, and help readers manage their time effectively. By providing readers with estimated read times, you empower them to make informed decisions and create a more engaging environment. With the Node.js code snippet provided, you can easily calculate the read time of your content and incorporate this valuable feature into your technical blog.
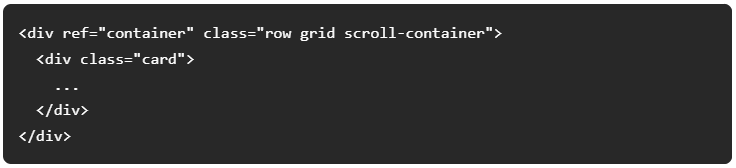
A little while ago I read the following blog post, Web Component for a Code Block by Chris Coyier, it got me thinking about how I could enhance the code blocks on my website. This is a tech blog after all, and from time to time I want to share tips and tricks which involve code snippets. Code syntax highlighting is vital for blog posts because it helps to visually distinguish different elements of code, making it easier to read, understand, and spot errors. HTML has very handy <pre> and <code> elements which help with the markup. I previously had some styling that left me with this solution:
Note that all the text is just white, not at all what you would see in your IDE of choice.
Research & Implementation
All of the content on this blog is hosted on WordPress, and I’ve built a Nuxt module to fetch the content and transform it which I’ll write another blog post on at a later date once I’ve finalised the API for it.
I initially extended my module to process all <pre> elements in a blog post. I wrote a loop over each element and which let me experiment with a few different syntax highlighting libraries.
Chris had used PrismJS in his web component, so I thought that was as best a place to start as any. It was relatively easy to install with Yarn.
I realised none of my code examples included a language, and Prism needed a language set for each block. I went down a rabbit hole of finding a language detector. Trying to Google that got a lot of results for detecting human languages, such as English or Spanish, rather than code languages, such as JavaScript or PHP. I did find a few detectors, including one based on what GitHub use, Linguist, but most of the auto-detection libraries rely on other contextual clues such as file extension, whereas I just wanted to pass a string to the detector.
I then found a blog from LogRocket, exploring the best syntax highlighting libraries, and looked into Highlight.js. They offer an auto-detection language feature which worked, but wasn’t very accurate. Similar to PrismJS, it was very quick to get a working solution together.
I bit the bullet and went through all of my old blog posts and assigned each code block a language. It didn’t take much longer than 5 minutes as I didn’t have that many code blocks in the first place. I was just over-complicating things!
I stumbled upon another blog post talking about the Torchlight syntax highlighting library and realised that Highlight.js was not very good at Syntax highlighting at all. Torchlight works slightly differently from Highlight.js and PrismJS in that it is a HTTP API. You pass your content to it, and it returns it with syntax highlighting. The highlighter is closed-source, but it uses the engine behind VSCode, so highlighting is much more accurate. The code examples on my site could match exactly what I see in VSCode, perfect! Using Torchlight also meant I could pre-render the highlighting, massively reducing the weight of scripts I was making the end user download. I’m all about performance, so I was sold. There’s a JavaScript client library but it had no docs, so I had to spend a lot of time in the source code figuring out how everything works.
To get started, you import the Torchlight constructor and call the init() method. The Torchlight constructor takes 3 arguments, a configuration object, a cache class, and a boolean of whether to perform a re-initialisation if Torchlight has already been set up. The library offers a makeConfig() helper function, which looks for a torchlight.config.js file in the root directory if it is not passed a configuration object. For my case, I was happy with the defaults Torchlight sets, but wanted to change the theme, so opted to pass this through the function rather than created a config file. I took an informed guess from the options that are available to the other libraries. Torchlight has various themes available which are documented here. Torchlight offers 2 caching mechanisms, a file-based cache, and an in-memory cache. As this site is statically generated, an in-memory cache wouldn’t be any good for me, so I set up a file cache. Again, the library provides a handy helper, allowing you to call new FileCache or new MemoryCache. The FileCache constructor takes a configuration object allowing you to specify the directory in which to cache the files. For each request to the HTTP API, Torchlight stores the response in a JSON file in this directory. When making a request, Torchlight looks in the cache directory first, checking the expiration time, before making a new request to the HTTP API if needed. I omitted the force argument as this is set to false by default.
import { makeConfig, torchlight, FileCache } from '@torchlight-api/client'

torchlight.init(
  await makeConfig({
    theme: 'dark-plus'
  }),
  new FileCache({
    directory: './.torchlight-cache'
  })
)
I installed the netlify-plugin-cache package which allows you to specify directories that Netlify should cache. This means that the .torchlight-cache directory persists between builds. I added the following to my netlify.toml.
Now that Torchlight was set up, I actually needed to pass code to it to highlight. There’s another class, block, which you create for every block of code you want to highlight. You push these into an array and then call torchlight.highlight() on it, which returns you an array of highlighted blocks. The block constructor takes 2 arguments, the code, and the language. I’ve added CSS classes to all my code blocks now, so can grab the language from there. I’m using the Cheerio library to parse the WordPress post content, so fetching a class is very simple. I also add the language as a data attribute to the code block, so I can display it with CSS. WordPress’s post content is HTML encoded, so I use the he library to decode it before adding it to the block. This allows HTML inside code blocks to be formatted correctly. The block class generates a unique id, which we set on the <code> element to enable us to update its content once we have received the highlighted code.
import { load } from 'cheerio'
import he from 'he'
import { Block } from '@torchlight-api/client'

$('pre code').each((i, code) => {
  const $code = $(code)
  let language = $code.parent().attr('class').split(' ').find((className) => className.startsWith('language-')) || null
  if (language) {
    language = language.replace('language-', '')
    $code.parent().attr('data-language', language)
  }
  const torchlightBlock = new Block({
    code: he.decode($code.html()),
    language
  })
  torchlightBlocks.push(torchlightBlock)
  $code.attr('data-torchlight-id', torchlightBlock.id)
})
Now that we have created each block ready for highlighting, we can make the request to the Torchlight API. The JS library has some features to optimise requests, such as sending chunks, so we use the helper function torchlight.highlight() here. We then loop through each highlighted block and update the HTML with the highlighted version, notice how the ID comes in handy here for selecting the correct code block.
That’s it, code snippets have been highlighted in a performant and accurate way. You can see them in action on this very post. I obviously have a lot of custom styling but this is personal preference. The nice thing about Torchlight is that all the styling for the highlighting is done inline, so no need to include any other stylesheets and worry about theming, just change the config property. I do like my implementation of the language identifier though, which you can see a snippet of CSS for below:
Going back to the original blog post that introduced me to Torchlight, I did want to have a go at adding copy-all functionality to my code snippets. The blog’s example was using Statamic and Alpine, so I had to adapt it to my Nuxt use case. The copyable Torchlight config option did nothing for me, but the original code was available in the response object under the code key. The basic idea is to add a container to each code block which contains text to be displayed when a user clicks the copy button, the copy button itself, and the raw code to copy. I could again use the he library to encode the code so that it would display correctly inside of the <code> element.
I then wrote some JavaScript for the client side to handle clicking the copy button. I’ve been using classes for this type of thing a lot at Rareloop and it’s really helped me write cleaner code. I’m passing the registerCopyToClipboardContainers() function to a Vue mixin, but it could be used quite easily in vanilla js.
The CSS is then as simple as below. We hide the raw code, and the copied notification, position the icon at the bottom right of our <pre> element, and show the copied notification when the .copied class gets applied.
My site is pretty small, so I don’t really need search functionality, but the Netlify Algolia plugin looked easy enough to use and a bit of fun.
Diving into the docs, I got a bit overwhelmed. Algolia’s breadth of capabilities is huge. They definitely seem like the go-to for fully customisable search on a Jamstack site. But all I wanted was a quick half an hour set up. I started reading a few articles and eventually figured out that Algolia offers two main products, instantsearch and autocomplete. Instantsearch is wildly extensible and has an array of UI components to create full search experiences. Autocomplete, on the other hand, adds a little search box like I’ve seen on so many sites.
I installed the Netlify plugin and kicked off a new build to get the crawler running automatically which indexed the content on my site. As I’m using Nuxt, all of the pages are pre-rendered so the crawler can parse the content. If you have an SPA, you’ll need to tweak a config setting in your netlify.toml file to get the crawler to render the Javascript on the page.
I wrote a little load script wrapper in the mounted hook, but this felt a little slow, having to load resources from a 3rd party, all the extra DNS overhead that that brings, and what if jsDelivr went down (unlikely).
What I really wanted was to be able to import an es module and bundle it with my code, like a normal Javascript package. I ended up enabling Typescript in my project, my first foray, copying Algolia’s source files, and importing like so (much simpler).
import algoliasearchNetlify from './AlgoliasearchNetlify'
You can view the commit that adds the @algolia/algoliasearch-netlify-frontend package to my project. There’s a bit of technical debt here in that I manually need to update files if Algolia update their package, but it also means I can customise it no-end if need be. I also now control the requirements of Algolias core packages like @algolia/autocomplete-js and @algolia/client-search, so can keep things more up-to-date. I feel like it’s a good compromise.
The Netlify walkthrough gives you the following code snippet, but I found it really difficult to work out what all the env variables were and which page in the Algolia dashboard to go to to get the right variable. I worked out that the dashboard shows you different API keys depending on which application you had last visited. How I longed for Stripe’s docs here which automatically fill in the code samples with your keys.
Now I had a working search! I wanted to style it a little though, which Algolia let you do through their config options. Just place this code in the algoliasearchNetlify config options.
theme: {
  mark: '#fff', // Color of the matching content
  background: '#23263b', // Background Color of the input and the panel
  selected: '#111432', // Background Color of the selected item
  text: '#d6d6e7', // Color of the title of the items
  colorSourceIcon: '#d6d6e7' // Color of the icon on the left of results
}
After plugging the values in, I realised I’d need to dynamically update them due to the dark theme toggle on my site. I experimented a little with watching a darktheme prop and trying to destroy and recreate the search container, but eventually dove into their source code and picked out the bits of CSS I needed to change. Here’s a snippet of what I added:
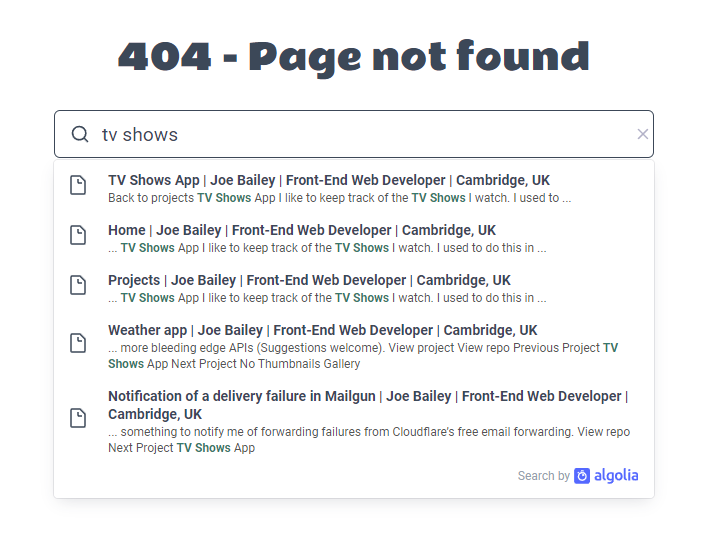
The way the autocomplete works is that when you start typing, a popup displays with the top results. You can configure how many to show, but I left it at the default which is 5. Annoyingly, whenever you click off the window, the popup disappears, so you can’t inspect it with dev tools. I did some Googling and found that you could pass a debug option to algoliasearchNetlify which keeps the popup open. That let me make the final styling touches I needed.
Overall, it was a bit of a pain to add Algolia with the Netlify plugin, the whole integration feels rushed on their part. It’s not quite plug and play for an SPA or SSG. I can imagine it works well if you just have HTML files though and don’t mind a few extra 3rd party resources. If I were to need a comprehensive search functionality in the future, I’d definitely go with Algolia, but for smaller projects, I’ll be looking for something less complex. Take a look at the new search feature.
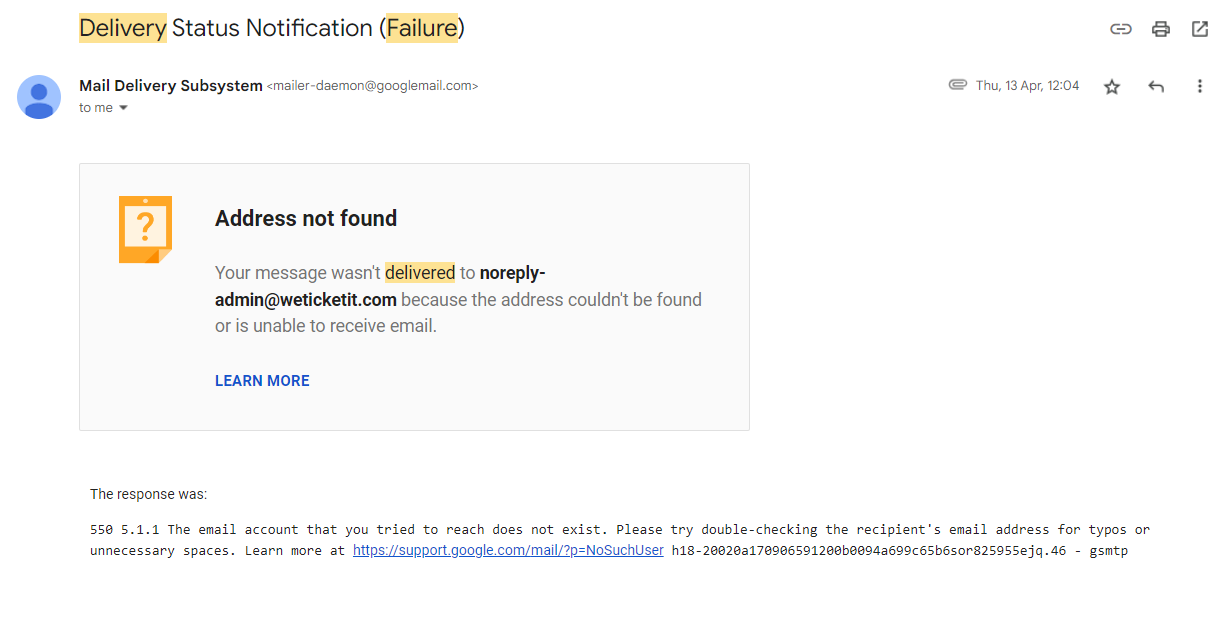
When you use an email service provider like Gmail, you get delivery failure emails. These emails are great because it enables you to reach out to your intended recipient in another way, or just retry the email later on.
Because I use Mailgun with Gmail’s Send Mail As feature for my custom domains, I needed to implement a solution that handles delivery failures.
Background
I’m cheap, so I host my domains with Cloudflare as they don’t charge a markup – I pay what they pay. Cloudflare recently introduced email forwarding which is great. I used to send and forward emails with Mailgun on their free plan, but they removed the forwarding feature right around the time Cloudflare introduced theirs, lucky me.
I ran into the situation of sending multiple chaser emails to someone because I thought they’d just not got back to me. It turned out my emails just weren’t getting through but I didn’t know. I then started down this path.
Mailgun offers webhooks for many different events. Now I just had to build something to handle the delivery failed event. I’d built some Lambda functions before and Netlify functions but Cloudflare Workers was new at the time, so I decided to build it on that instead.
How I built it
To start, I installed Wrangler, Cloudflare’s development CLI, and got a project set up. A Cloudflare Worker runs a short snippet of code on the edge. I wanted to use Node, because JavaScript is a language I’m most comfortable in, so had to enable the node_compat flag on the worker to allow various methods inside the crypto functions to work. I also set up CI using a GitHub action so each time I push changes to GitHub, the worker gets built and deployed to the global Cloudflare network. I used the cloudflare/wrangler-action package to do this.
A simple overview of how it works is the worker receives a request and parses its body. If there is no request body, then the worker returns a 405 bad request status code. With the body, we create a hmacDigest from the body timestamp, token, and a special signing key that we get from the Mailgun dashboard. I’m using the crypto-js library to do this. We compare this calculated digest with the signature in the request body to make sure they match. This authenticates the request to ensure only our Mailgun account can send webhooks to this Worker. We also cache this digest, along with the URL so that we can see whether it has been used before. Mailgun wouldn’t send a webhook event twice, so it must be someone trying to get information by replaying an old webhook event. By validating whether we’ve processed the digest before, we can prevent replay attacks.
// Make sure a body is included
let body
try {
    body = await request.json()
} catch(e) {
    return new Response("Bad request", { status: 405 })
}
// Verify that the Mailgun Signature matches the one that they sent us
const hmacDigest = hex.stringify(hmacSHA256(body.signature.timestamp + body.signature.token, env.MAILGUN_SIGNING_KEY))
// Load Cloudflare Cache
const cache = caches.default
// Set Cache Key for this signature = https://worker.domain/signature
const cacheKey = request.url + hmacDigest
// Ensure the signature has not been used already
const alreadyUsedSignature = await cache.match(cacheKey)
if (alreadyUsedSignature !== undefined) {
    return new Response("This is a replay attack. The signature has been used before", { status: 401 })
}
if (hmacDigest !== body.signature.signature) {
    return new Response("Could not verify signature", { status: 406 })
}
Now we have all of the security out of the way, we get to actually processing the error message received from Mailgun. First, we get the recipient, so we know who we need to email back seeing as they didn’t receive our message. Then we grab the sender, as it may be you manage more than 1 domain so you need to know who sent the email. The email subject helps too as it may be you sent more than 1 email to the same person. We also want to be informed of the error message, so we get that too.
To allow us to send mail, we use Mailgun’s HTTP API, configured using env variables. We have one for what email should send these notifications, and one for who the notifications should go to. We then just need a Mailgun API key to allow us to send the email. This API key should match the domain you’d like to send email from.
// Set up the email to send
const mailOptions = {
    from: `Galexia Mail Reporting <info@${env.DOMAIN}>`,
    to: env.REPORTING_ADDRESS,
    subject: "New delivery failure in Mailgun",
    text: `
An email to:
${body['event-data'].recipient}

From:
${body['event-data'].envelope.sender}

With a subject of:
${body['event-data'].message.headers.subject}

Has failed.

The error message was:
${body['event-data']['delivery-status'].description || body['event-data']['delivery-status'].message}
`
};
// Convert the email JSON to FormData
const form_data = new FormData()
for (var key in mailOptions) {
    form_data.append(key, mailOptions[key]);
}
// Send the email
const sendEmail = await fetch(`https://api.eu.mailgun.net/v3/${env.DOMAIN}/messages`, {
    method: 'POST',
    body: form_data,
    headers: {
        'authorization': `Basic ${new Buffer('api' + ':' + env.MAILGUN_API_KEY).toString('base64')}`,
        'accept': 'application/json'
    }
})
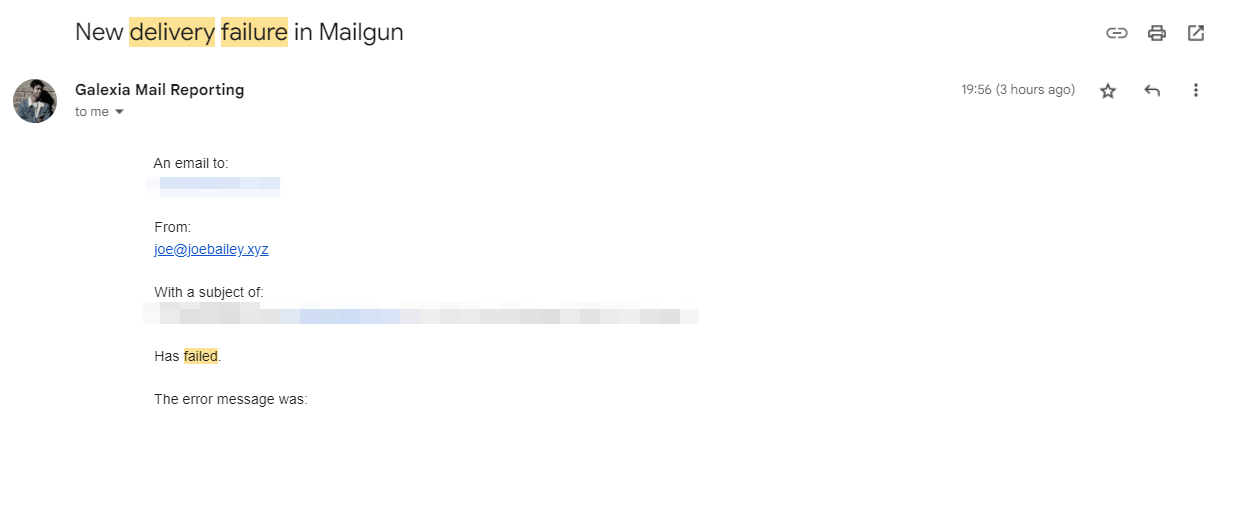
Setting this all up gets me delivery failure messages like this:
Of course, if you get an error sending that email, you could be stuck in a loop and still get silent failures, so I’ve set my recipient to a Gmail address which has pretty good availability.
In summary, having this worker set up allows me to catch any emails that don’t get delivered, and then be able to dive into the Mailgun logs to debug the issue. On the flex plan, logs are only stored for 5 days, so having this webhook set up gives me near instant error messages and allows me to action any issues quickly.
To build on this, I’d want to set up something to notify me of forwarding failures from Cloudflare’s free email forwarding.